Bunting for Small Spaces: Apartment-Friendly Party Decor Ideas
October 13, 2026 - Event Inspiration
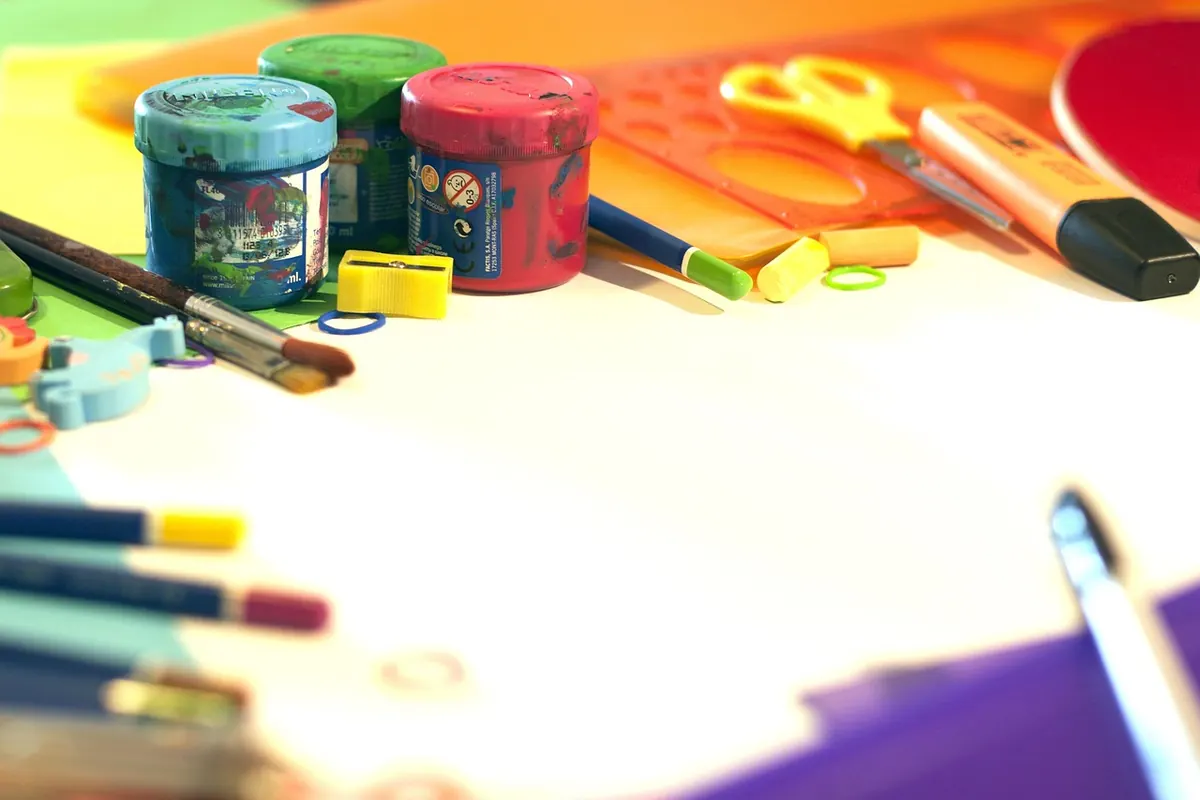
Cutting paper bunting looks like a quick afternoon project until you are halfway through with no twine, a hole punch that tears, and cardstock that curls at the corners. The flags are simple. The prep is what keeps them neat. Before you make the first snip, gather the right supplies and test a few scraps. This checklist covers the 12 items that matter most, from paper weight to the tiny adhesive details that keep a banner hanging straight.
A little time spent gathering and testing now saves a lot of frustration later. You will avoid jagged edges, uneven holes, and flags that droop after an hour on the wall. You will also be able to match the paper, string, and reinforcement to the way you plan to hang the bunting: across a cake table, along a staircase, or over a doorway.
With those items on the table, you can move from cutting to stringing without stopping. The details below explain what to look for and how to avoid the most common paper bunting problems.
Paper weight is the quiet hero of paper bunting. Copy paper is too flimsy for most banners: it tears at the holes, curls in humid rooms, and flops over the string. Thin scrapbook paper can work for a small indoor garland, but it often needs reinforcement. Medium-weight cardstock, around 65 to 80 lb, is a reliable starting point. It cuts cleanly with scissors, holds a gentle fold, and hangs without looking heavy.
Heavier cardstock, around 100 to 110 lb, gives a premium look and resists bending, but it can be harder to cut with decorative scissors and may require a craft knife or bone folder for crisp folds. Textured paper, glitter cardstock, and metallic sheets add beauty but also add drag. Glitter can dull blades and shed onto the table. Metallic paper may show fingerprints. If you are making bunting for a party photo backdrop, test a scrap first under the same lighting.
Tip: Cut one test flag from each paper you plan to use. Punch a hole, thread a short piece of string, and hang it overnight. If it curls, tears, or twists, change the paper or add reinforcement before cutting the full set.
A template keeps every flag the same size and shape. You can buy a plastic pennant template, trace a cereal box, or cut a chipboard guide with a craft knife. For a classic triangle bunting, draw the shape once, test it against your string spacing, then use it to trace every flag. A sharp pencil is fine for dark paper, but a white chalk pencil or silver gel pen is easier to see on black or navy cardstock. Mark on the back of the paper whenever possible. If you must mark the front, test the marker on a scrap to make sure it does not bleed or smear.
Scissors are fastest for a few dozen flags, especially if you cut two or three layers at once. Craft knives and rotary cutters give straighter edges and are better for long strips, straight-bottom flags, and thick cardstock. Always use a cutting mat underneath. A metal ruler is safer than plastic because a knife can shave the edge of a plastic ruler. If you use a rotary cutter, keep the blade sharp and cut away from your body. Dull tools are more dangerous because they require more pressure and can slip.
The hole punch is where many bunting projects fail. A standard single-hole punch works for light cardstock, but thick paper can jam or tear. A screw punch or awl gives more control and creates a clean hole in dense paper. Eyelets add a polished, durable finish, especially for bunting that will be reused. Reinforcement stickers or clear tape on the back of each hole can be enough for lightweight paper. Choose string that matches the weight of the flags. Baker's twine is charming but can be too thin for heavy cardstock. Ribbon lies flat but may slip. Bias tape is strong and soft, while jute twine adds rustic texture. Whatever you choose, thread a test flag and let it slide along the string to check the hole size.
Glue sticks are clean and quick for paper-to-paper layers, but they can wrinkle thin sheets. Double-sided tape gives an instant bond with no drying time, which is useful for attaching letters or layering two colors. Glue dots hold small embellishments without a wet mess. A bone folder or scoring tool creases folded flags, makes neat tabs, and helps you avoid cracked edges on thick cardstock. Binder clips and clothespins hold glued pieces flat while they dry. Keep a small tray for scraps and a separate envelope or box for finished flags so they stay flat and organized.
Before you commit to cutting dozens of flags, run a quick test with the exact supplies you plan to use.
If the test flag passes, you can cut the rest with confidence. If it fails, change one variable at a time: heavier paper, a different punch, reinforcement stickers, or a wider string. This small test prevents a whole banner from failing after an hour of work.
The supplies you choose should match the setting. For a child's birthday, medium cardstock in bright colors, baker's twine, and reinforcement stickers are practical and playful. For a wedding or formal dinner, heavyweight matte cardstock, satin ribbon, and eyelets give a polished look. For a rustic outdoor party, kraft paper, jute twine, and simple hole punches fit the theme, but keep an eye on humidity because paper can soften and curl. For a reusable banner, laminate the flags or use heavy cardstock with eyelets and store them in a labeled envelope.
If the bunting will hang across a doorway, measure the span first. Add extra string at each end for tying. If it will hang against a wall, consider whether the back of the flags will be visible. Double-sided paper or a second layer of cardstock can make the reverse side look just as good. If you plan to add letters, cut them from contrasting paper and use double-sided tape or glue dots so they stay flat.
Good paper bunting is not just about the flags. It is about the small decisions before the first cut: the right paper weight, a clean hole, a strong string, and a little reinforcement where the banner pulls.

Bunting does not need an entire wall. Here is how to scale pennants, garlands and streamers for apartments,...

Clean, untangle, and roll your bunting before storing it in a cool, dark, breathable container—so next season's...
Copyright © 2026 Bunting Beacon. All Right Reserved.